So, how to make chocolate truffles? it’s almost Christmas and you’ve just realized you need one more gift. Before you brave the mall or bust your budget, go to the pantry and fridge for a cheap, quick, and easy gift: homemade truffles. You can also add them to your arsenal of homemade Christmas gifts with a little advance planning next year.
Once you master the basic truffle recipe, you can change the flavorings to nearly anything. These truffles are orange, but I’ve also made mint, lemon, apple, chili oil, hazelnut/amaretto, Bailey’s Irish cream, and Chambord truffles. The possibilities are endless.
Homemade Truffle Ingredients
7 ounces chocolate
1/2 cup plus 2 tablespoons cream
1 teaspoon vanilla
1.5 teaspoon orange flavoring
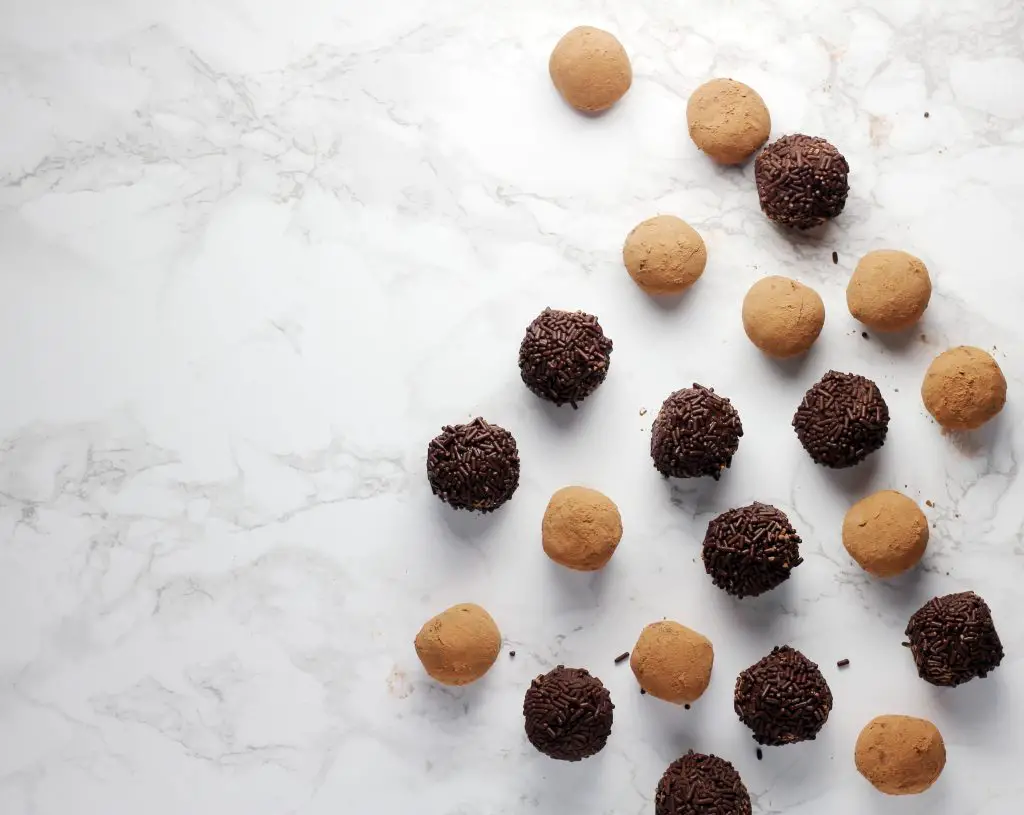
powdered sugar or sweetened cocoa powder
You may need to add or remove some of the cream if you change the flavoring. The goal is to have about ½ cup plus 2-3 tablespoons of liquid. At least ½ cup must be cream. When I use liquor for flavoring, I replace 2 tablespoons of cream with 1.5 tablespoons of liquor. I also usually reduce the vanilla to ½ teaspoon. Start with small amount of each flavoring and add more as you go until it reaches the right taste. For these, I used orange flavoring, but you could also use an orange liqueur. If you do, use 1.5 tablespoons.
A Word on Chocolate
You can use cheap chocolate or expensive chocolate. I usually use 3.5 ounces of bittersweet and 3.5 ounces of dark chocolate. You could also use all dark, all bittersweet, all semisweet, or a mix of bittersweet and semisweet. The choice is up to you. I’ve never used milk chocolate or white chocolate, but I imagine those would work well, too. I usually use Trader Joe’s Pound Plus bars, which are $4 each and make several batches of truffles, but you can use any chocolate. The only one I don’t like for truffles is Scharffen Berger. Although it’s delicious on its own, it has a fruity undertone that may compete with the other flavors you’re adding.
How to make Chocolate Truffles?
Follow these simple steps to make the truffles. You’ll need about 20-30 minutes of prep time and a few hours of rest time.
1. Chop the chocolate very fine. I use a flexible cutting mat so I can pour it directly into the bowl without losing any chocolate or messing up my hands.
2. Heat the cream in a small pot until small bubbles form around the edges.
3. Pour the cream through a strainer and over the chocolate.
4. Whisk until smooth and glossy. If it doesn’t melt immediately, you can do one of two things: place the bowl over a pot of steaming water and whisk until smooth (do not let the water touch the bowl of chocolate) or microwave it on 50% power for 15 seconds. Whisk and repeat until all of the chocolate is melted.
5. Place the bowl in the fridge to chill for 45 minutes to an hour. If you’ve flavored the chocolate with alcohol, it will take closer to an hour. You want it to be soft enough to scoop, but firm enough to hold a basic shape.
6. Cover a cookie sheet with parchment, then drop small balls of chocolate onto it. I use a cookie scoop, but you can also use two teaspoons. You’ll have 15-18 small balls. Return the sheet to the refrigerator to chill for 10-20 more minutes. Again, alcohol truffles may take longer.
When the truffles are firm, but moldable, it’s time to roll them into rounder balls and apply the coating. These truffles are very rich, so you may also consider cutting them in half. I usually do. With a sharp knife, slice down the middle. Either with bare hands or while wearing latex gloves, roll each truffle or half-truffle into a small ball. It doesn’t have to be perfect. Work quickly because the chocolate will melt.
7. Roll each ball in the coating. For these, I used powdered sugar. You can also use chopped nuts, sweetened cocoa powder, tempered chocolate, sprinkles, or just about anything else that will taste good with your combination.
8. Chill the truffles one more time. At least 8 hours is preferable, but one hour is fine. They need to firm up and hold their coating. Once they’re done, transfer them to a tin, small box, or bag. Attach a tag with the flavor and instructions to store in the refrigerator for up to 3 weeks. They’re best when warmed for 20-30 minutes before eating. Then they’ll melt right in your mouth and the flavors will be full on your tongue.